
GETTING STARTED
Quickstart
Download
Relay application
Local Session
Create and organize a Relay project in a Local Session
- Start a Local Session
- Create a new project named “DemoProject”
- Download the demo models and import them into the project
- Customize the scene
- Spawn the imported models
- Add collision detectors, measurement tools, and cameras
- Move models using Transform Tools
- Save the scene as “MyScene”
Network Session
Collaborate using your project in a Network Session
Note: A Network Session requires all participants to connect to a Beam Server
- Send your “DemoProject” folder to all Network Session participants
- Connect to Beam Server
- Press “Network Session”
- Connect to Beam Server address
- Create a Network Session
- Open your “DemoProject” folder
- Collaborate
- Open “MyScene”
- Spawn and move objects
- Save the scene as you go
CONTROLS
| Desktop | VR | |
| Open Pause Menu | Escape | Escape |
| Move | WASD | |
| Sprint | Shift | |
| Zoom In/Out | Control | |
| Teleport | Spacebar | Touchpad/Thumbstick |
| Grab/Drop | F | Grip |
| Select | Left Click | Trigger |
| Open Player/Object Menu | Right Click | Menu Button / X or A |
HOW TO
MODELS
Import
Import a 3D model into a project
- Pause Menu
- Import
Accepted File Types:
- .glb
- .gltf
Spawn
Spawn an imported model into a scene
- Player Menu
- Models
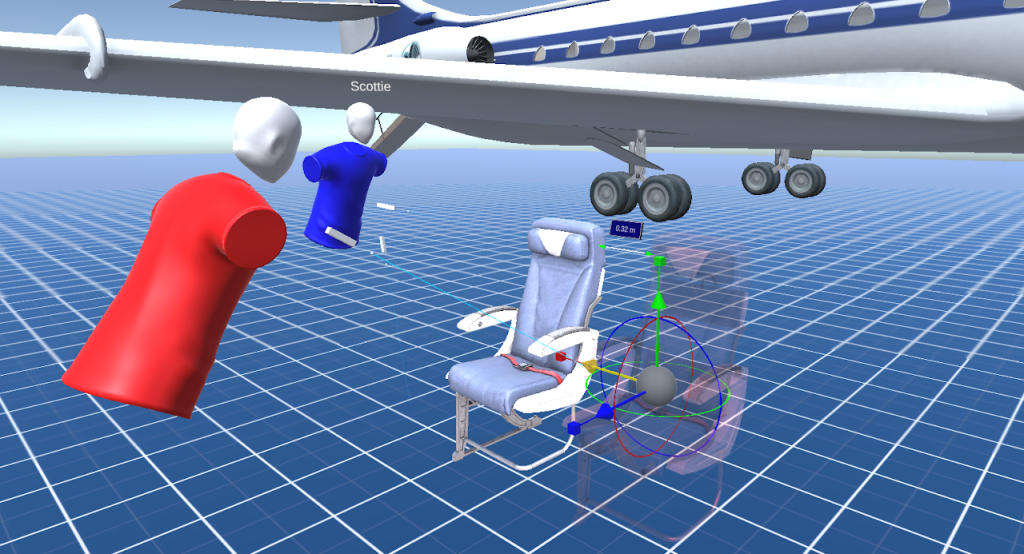
Transform
Adjust the models in the scene
- Grab the model to activate the Transform Tools
Transform Tools
- Toolset – Grab, Move, Rotate, and Scale
- Manual – Adjust transform values
- Origin – Move the model’s origin
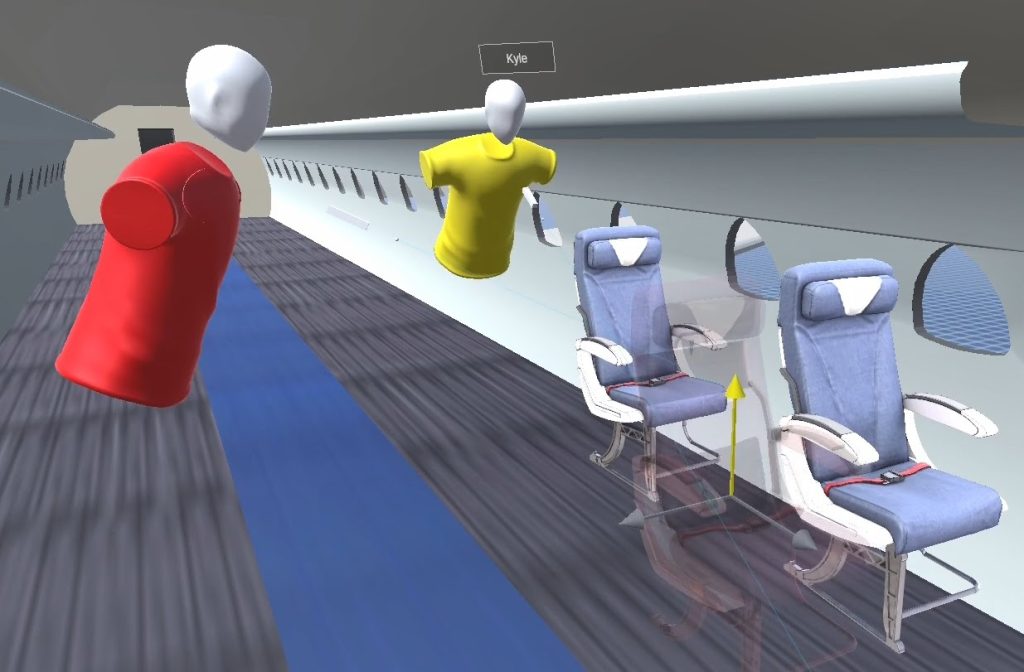
CAMERAS
- Spawn, control and view Cameras to see the scene from a different perspective
MEASUREMENT TOOLS
- Measure in-scene distances
- Drop an endpoint on a model to attach it to the model
COLLISION DETECTORS
- Highlight when a model hits an area
- Drop on a model to attach it to the model
- Adjust the radius to fine tune detection