The day before the symposium

While leaving VRAC and going home, Kris, Amy, and Rebekah taught me how to tie my hair in a bun.

Then, Curtis brought me, Andric, Kris, and her husband to Hickory Park.

Leaving this REU program, I will miss moments like these that come from knowing and living together closely over the past ten weeks. Thank you everyone!

I plan to write one more blog post briefly reflecting about my time here.

What a week

Earlier this week, I was wondering what kind of results we would eventually show in our poster. Today, it seems like we have an answer.

We were still scrambling as we found out that the silicone won’t cure in the resin. It worked in the first time, so why didn’t it work? The manual didn’t say anything besides it not working with resin mold.

The PDMS came later this week. Right before we started pouring the PDMS, Amy found an article about properly treating resin for use with PDMS. After investigating the recommendations in that paper, we treated the resin fingerprint molds in an oven and poured the PDMS and silicone again.

Today, we were able to get the PDMS and silicone fingerprints working! Yet my fingerprints were somewhat far from the real thing, so we scrambled again to tell a story around how this will serve as a good foundation for further work.

We made so much progress this week towards making something that will get others excited about our work. When I experience something like this week again in the future, I hope this week will give me confidence that despite uncertainty, things will work out better than expected.

Dealing with unexpected outcomes

A takeaway from my time at this REU is to not conceive a research project as a linear progression from beginning to end. To explain why, I’m going to elaborate on what happened recently.

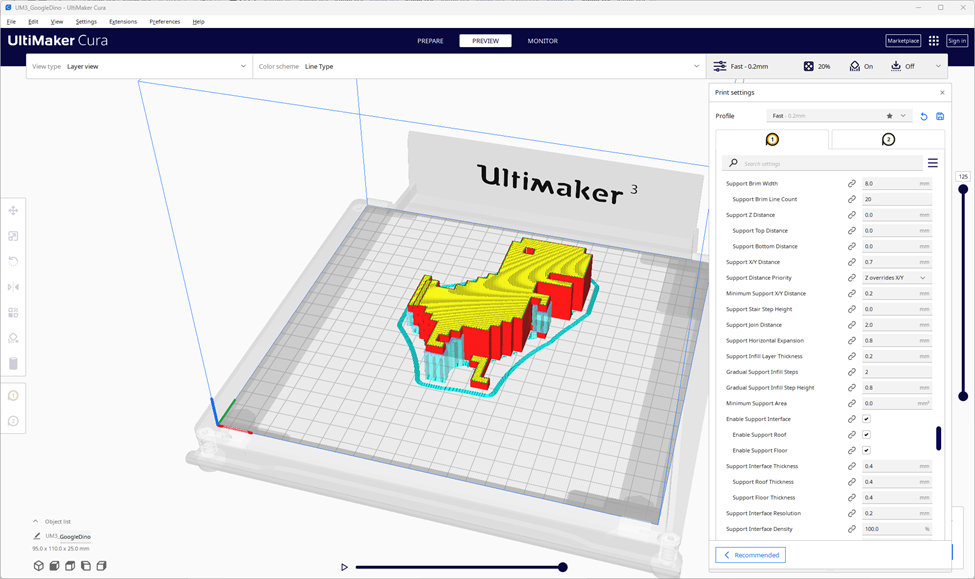
We printed several fingerprint molds using the resin printer, expecting to successfully fill it using silicone. On the first time we tried it, the silicone successfully cured, revealing the fingerprint texture as we removed it. However, we noticed a mistake that prevented us from using the fingerprints. Specifically, they were mirrored, meaning we had to re-print the resin molds. Once we poured silicone into the molds (twice!), the silicone stuck onto the mold, not curing, preventing us from getting fingerprint models.

I didn’t expect a lot of things:

  • The exact timeline of our project: We began our project without much understanding or vision of what the final product was. It was only after halfway through the program (week 5-7) that the vision had formed; before then, we were either searching for background information or learning to use the software we would need to make our 3D models.
  • The amount of prototypes we would need to find issues. We naturally noticed errors faster when we had the physical molds.
  • How our silicone reacted with the resin mold. We don’t know the exact reason why the silicone didn’t cure the second and third times, but it might be because the first batch of molds were left out for longer, or there might have been a temperature and humidity difference.
  • How we needed to fit our 3D prints into the limited amount of time the room was open.
  • Shipping delays, etc.

Because of all these issues piling up, I decided to talk to Stephen at lunch so I can reflect on how to better respond to these issues and anticipate them more proactively. The most salient idea he told me was that timelines for research projects are unlike those for any other project because they are more like a set of outcomes (like a decision tree?) with probabilities for each outcome instead of a single timeline. As a result, moving across a project is more like a sequence of taking planned risks rather than traveling across a predetermined path.


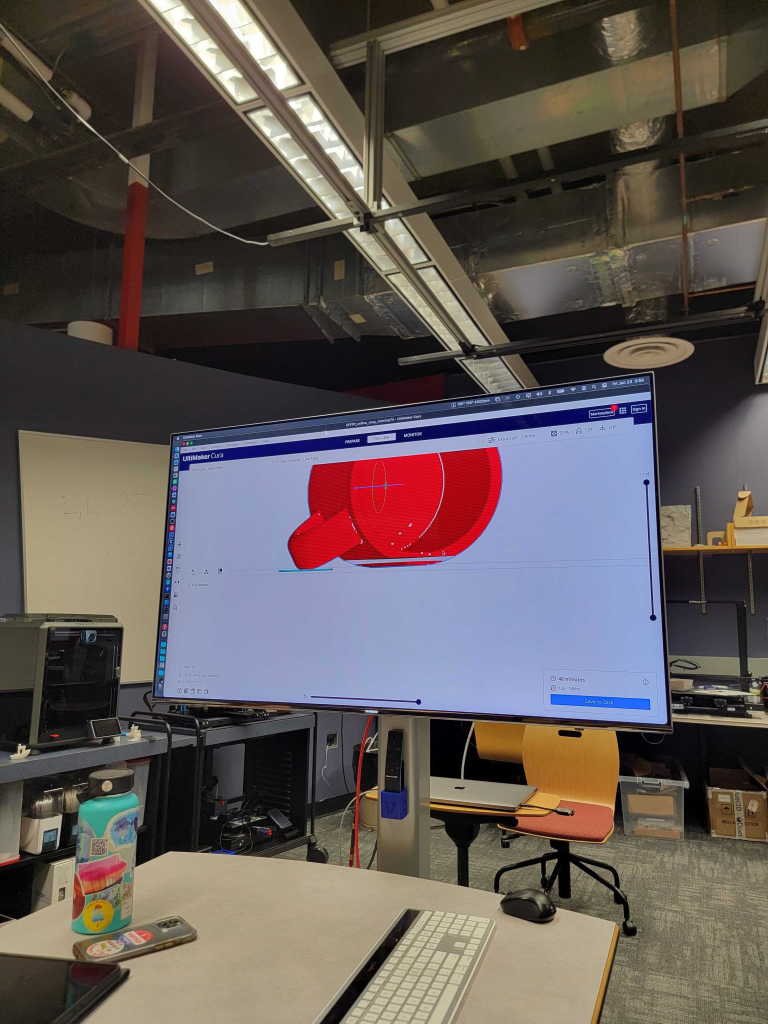
Thinking about this when I am writing this blog post, I recall one planned risk I took trying to make progress through our project. It happened right after our group realized that the fingerprint mold models were mirrored. After quickly mirroring the models again to un-mirror them, I devised a way to get the prints out ASAP by the end of Friday, even at the risk of the prints failing. The 3D printers were only available on Friday and Monday for 11 hours each day.

Instead of printing the whole set of molds as planned, I chose to print a subset in an orientation that would guarantee that the prints would finish in time. The orientations might have destroyed the textures of the fingerprints, but I decided to advance anyways because the next full batch of molds would have required me to wait until Monday regardless of the time I started printing it. Choosing to proceed meant that I could have gained, and if this failed, I would have lost nothing meaningful as the original plan would have led to a full batch of molds on Monday anyways.

Fortunately, the molds retained its shape well despite the orientation being risky, and we could pour the silicone the same Friday evening. Waiting over the weekend, the silicone still stuck to the resin molds, preventing us from proceeding. I felt a little disappointed, but retrospectively, this risk that I took ultimately led me and my group to better understand the appropriateness of the materials and procedures we used. Altogether, printing in a risky way, considering the time constraints I had, led us to experimenting a few days earlier than working as planned.


Research work ultimately has time limits: the deadline to submit a paper, the amount of funding one gets, the time left until a professor faces their tenure review, and so on. Thinking about timelines as a sequence of likely events feels comfortable given that time limits still exist. Yet linear timelines are stressful, as every last minute is one where I have to do the right thing or I will fall behind. Thinking about timelines as a tree of probabilities is challenging but tranquil at the same time. It keeps me mindful of the large ideas that I want to learn about, yet it enables me to live moment-to-moment, not writing the ending of a story at the beginning, but only writing a new cliffhanger at every ending.

Going to Seasons for dinner

Usually, I eat most of my meals in my own room. However, since this week is the second-to-last week until the poster has to be submitted, I started eating more at Seasons, the only dining hall open on campus during the summer. Four times for dinner, to be precise.

It’s a bit more convenient than eating at home, since I don’t have to cook anything. I also don’t have to wash dishes. It’s nice to not think too much about these responsibilities as the work gets busier as I need to wrap up my research. I don’t have to go grocery shopping as well. Finally, I get to use the meals I didn’t use early this summer.

Somehow, it feels nice to eat there, even though I believe I cook better.

Presentation

Today, we presented our projects to students at a REU program in CUNY. One of the aspects of presentations I am noticing is that we have much more that we want to say than we have time to under the time limit.

One strategy I learned from Stephen is to make “backup slides” for extra information I want to present but do not have time to during the main presentation. The format is as follows:

[1] -> [2] -> … -> [Thank You!] -> [B_1] -> [B_2] -> … -> [B_n]

What happens is that we end the presentation on time. However, we anticipate specific questions and create additional slides after the end of the presentation to answer these questions, providing additional information.

For example, due to the time constraint, our group incorporated a backup slide explaining the potential positive and negative implications of using the 3D scanning technology we tested for fingerprint scanning. When one student asked for implications, we were able to move onto that slide and explain in more detail.

While I am answering questions, another issue I need to be aware of is how long I take to answer each question. When a student asked us why we used resin printers, I explained all the relevant measurements that contributed to the printers’ precision related to the size of fingerprint ridges. However, since Stephen signaled me to finish my answer faster, I should consider whether others need to know low-level details or whether I should simply give a succinct, high-level explanation.

More food, and some project updates

As I mentioned in my last blog, I am cooking more often this summer. Because of that, I felt it was a good time to share some pictures of what I have been cooking in particular. These photos range from April to today.

As I am uploading these pictures, I’ve realized that I have been taking fewer pictures of the food I’ve been cooking. There is a pleasure as I eat food right after cooking it. Yet I am also finding pleasure in sharing these pictures and potentially inspiring someone as well. I hope I can take some more pictures of the unique dishes I am trying to make in the future, and I want to thank those who have inspired me along the way to cook, from my parents to the people of the places I walk upon.

Moving on to my project, I am feeling excitement and nervousness at the same time. The two weeks remaining before we complete our posters will be intensive. After scanning our fingerprints, we used the resin printer to make molds that will be filled with silicone and other materials. Then, we will test our fingerprints on a scanner and see if the scanner and resin printer work. Never before has our process been revealed so clearly, yet our outcomes shrouded so uncertainly. The only way to find out is to move forward.

Food

Fun facts about how I interact with food:

-My main purpose of traveling is to taste the unique dishes of each place.

-My college requires all students who live in residence halls to purchase a meal plan. Since students are required to live in residence halls (with a few exceptions for apartment-style rooms and juniors and seniors who have permission to live off-campus), it is necessary to pay for the expensive meal plan. If someone from my home institution is reading this, forcing us to pay for a meal plan is an injustice!

-I loved spending time to make food this summer. It feels liberating. I hope to rely on the dining hall less and spend more time creating my own food this fall.

-I feel like I eat more food than the average person. Probably 1.5x-2x the amount.

Goodbye!

3D Printing Reflection #2

Today, I printed my part yet again but the results were the same as before. The upper layers (after the final pause) is not bonding properly to the lower parts of the print.

In total, I had three prints resulting in the same defect each time, despite changing the plate temperature and standby temperature and placing the wires immediately as the print stopped.

Although the printing cannot be completed according to my design, the final result is still presentable with some modifications, as the main idea of integrating wires into ABS was made and I have enough process to show.

Here are some predictions for why the printed object was consistently defective:

  • Greater temperature difference between the layer where printing paused and the build plate
  • Software errors causing the print head to move inconsistently compared to the sliced preview after pausing
  • A lack of extrusion at the last pause point prior to printing (compared to the presence of extrusion when resuming from previous pauses).
  • Geometrical differences at the layer of the last pause compared to the previous pauses

If I had more time, I would test the part without pauses, measure the thermal properties at each pause point, and investigate the g-code output by Cura to troubleshoot the problem. However, printing this part each time requires about two and a half hours.

Reflections about 3D printing #1

It’s late in the evening now because the deeper dives are now wrapping up and I am busier. Before I go to sleep tonight, I am writing an update on the MCA.

While I have been printing the part that would attach to the Arduino, the upper layers do not bond with the lower layers. This is presumably due to temperature differences when the filaments are extruded after resuming the print due to the insertion of the plastic wire.

Working with ABS has been harder than working with PLA. The main benefit of ABS is that the shrinkage allows a wire to be initially inserted into a hole before its size shrinks to prevent removal of the wire. In contrast, PLA does not shrink, resulting in either wires slipping out or being unable to insert wires. However, the shrinkage also reduces the consistency of bonds between layers.

I will upload a longer reflection, with pictures, tomorrow as I complete the presentation.

Beginning the MCA

Yesterday, I brainstormed some ideas for the MCA, and I decided to make a simple “hat” for an Arduino. My plan for the end of this week is to make a part where I can pause 3D printing midway to embed wires before fully enclosing the wires. The ends of the wires will be exposed so I can plug these ends into the Arduino.

I am making prototype parts with square openings of different side lengths to see what dimensions are needed so that a wire can fit through the opening. After doing so, I will use a side length slightly smaller than the side length that lets the wire fit so that the wire can’t be removed after embedding it when pausing the 3D print.

I am excited to see how this 3D printing method can be used to rapidly prototype electronic devices like circuit boards or allow users to design modular components.

Deeper Dive Day 3

Today, we continued our deeper dive into 3D printing. I learned about several things about how to print properly.

This morning, we observed the printing of a small 3D part. Over the course of the printing process, I was interested in the defects on the corners and how infill patterns affect the strength of the printed object. As I asked about the issue of infill patterns, Alex found a paper by Alafaghani et al. (2017), which found that there was little difference between each type of infill patterns. However, this paper only tested one shape of tensile bar, one printer, and one type of filament. Thus, predicting the strength of 3D printed materials with regards to infill type remain difficult.

Later this afternoon, we discussed how 3D printing can solve specific problems that other forms of manufacturing can pose a challenge. For example, we can embed other items into an object by pausing printing and inserting that. We could insert a metal thread into a hole, for instance, or we could even embed wires as well. We also talked about how supports work, which might be needed when an overhang exceeds 45 or 65 degrees.

While I was thinking about these challenges, Alex told us we were able to print an object that will help us towards building our MCAs. I decided to print this Chrome Dino from Thingiverse (https://www.thingiverse.com/thing:5977565/files). This model allows me to observe several properties of 3D printing I learned. For example, the square edges allows me to observe defects when printing on the corners, the shape allows the heavy usage of infills, and the overhangs require the use of supports which I will need to remove after the printing process.

Learning more about 3D printing

I mainly spent my time today on diving even deeper into 3D printing, specifically on things that can go wrong during the process.

The workflow from creating a CAD model to printing it appears to be simple due to slicer programs that can generate slices with several clicks on a computer. However, there are many more factors that can affect the quality of the final product.

In Alex’s words, slicer previews are “idealized” representations of the final product, meaning they show the best-case scenario. However, printed filaments may sag or be distorted without proper support. Likewise, surfaces may not be smooth as appeared due to “seams” which show on each layer. Finally, user errors, such as deleting a triangle in a model, might lead to certain layers not appearing (below). To understand this, Alex discussed how slicing from STL-based 3D models work.

Slicers take slices, or cross-sections, of 3D models in the z-direction. From these cross-sections, 2.5D layers are generated. While these layers are based on 2D shapes, they also have a vertical dimension (thickness), leading to them having volume. As a result, slicer software must choose to under- or over-estimate the volume of the slices, which reminded me of estimating Riemann sums in calculus.

At the same time, slicers must also determine whether a point is inside or outside of a watertight cross-section. In the picture above, where a triangle was removed, the slicer can’t resolve the missing surface, preventing layers from being determined.

Although 3D printers seem to be easy-to-use, being mindful of the slicing process is necessary to print a satisfactory product.

Deeper Dive

Today is the end of our courses (C++, SolidWorks, Blender, Unity) and the beginning of our deeper dives. I chose the 3D printing deeper dive with Alex and he gave us a rough overview of what we might do today. For instance, we will disassemble a 3D printer and then reassemble it back.

Personally, I want to overcome my fear of tinkering with items through working on 3D printing. I feel anxious about repairing and disassembling things because of the risk of them breaking. At the same time, I am interested in working on something related to improving the usability of computers for my Mid-Course Assessment (MCA), as sometimes, computers are uncomfortable for me.

HCI: Invisible stove controls

This is the second post of a two-part series about interfaces with that are frustrating for the user.

Another frustrating interface that I am encountering is the stove knobs in my apartment.

Although there is no indication, one can turn the knob from this initial off position in both directions. Furthermore, note that it is not immediately visible how which positions are for high and low heat.

Upon looking in detail, you can see that clockwise from the “MED” indicator, there is a red line, while counterclockwise, there is a very faint white line. This would suggest that you can set the knobs in these positions to create high and low heat respectively. Yet this is not obvious at all, since the indicators are faded.

To make clear the correct knob positions, the manufacturer should consider the long lifespan of household appliances and take account this lifespan while designing the markings. For example, instead of printing the markings on the high-touch knob surface, it can be printed on the surface behind the knob, which is touched less often and therefore be less susceptible to wear. Then, the long handle of the knob can align with the markings behind it. An even better way would be to emboss the markings so they last even longer.

HCI: Wave to Open

This is the first post of a two-part series about interfaces with that are frustrating for the user.

One way to open doors at ISU is to use the “wave to open” mechanisms. In the entrances to buildings, beside the doors, you can find a square that lets you wave your hands over them to open the doors. This is contrasted with “push to open” buttons that open doors when you push a large button.

I find wave to open much more frustrating than push to open. For waving to open, the extent to which I have to wave to open a door is confusing, because wave to open lacks tactile feedback and the action of waving varies more than pushing a button.

At the same time, I believe that wave to open mechanisms fail more than touch to open. In a side entrance to Howe Hall closest to the bicycle racks, the door opener does not even work or has too long of a delay between registering the waving motion and opening the door.

There are several ways to improve the experience of waving to open doors.

The first improvement is that wave to open can be combined with a push-button mechanism so that individuals who prefer the consistent response of buttons as well as individuals who are unable to push buttons are both accommodated. This can be seen in the pedestrian crossing buttons in University Blvd as I bike to VRAC and back to Freddy each day.

The second improvement is that the wave to open mechanism can play a sound or show a visual cue upon registering the hand motion rather than only depending on the door opening for feedback. For example, when the motion has been registered, the below blue light becomes green and the device beeps. This way, users can stop waving their hands and understand the delay between the motion being registered and the door opening rather than not understanding each process that is occurring and wave their hands for longer than needed.